While trimming down a batch of string squares (not many more to sew!), it occurred to me that I could share a couple of tape-related tips here on the blog. (Something to fill in the gap until I get around to taking a few photos for the next project-related post.)
These aren't ground-breaking, cutting-edge ideas of my own, but I've found them useful and thought that someone else might not have heard about them yet. Doesn't hurt to pass along things that have worked for you, right?
Note: Apologies if you tried to view this post earlier and found the photos not working. I was trying the new Blogger interface that they're "upgrading" to at the end of June, and something apparently isn't working... I'm not sure what the problem was, because the photos showed up when I checked the blog right after publishing, but somehow disappeared later in the day. For now, I've reverted to the old interface, and I'll just have to hope it keeps working, I guess. (Unless the photo thing is a bug they work out. Don't you hate it when "upgrades" turn out to cause more problems than they fix?)
These aren't ground-breaking, cutting-edge ideas of my own, but I've found them useful and thought that someone else might not have heard about them yet. Doesn't hurt to pass along things that have worked for you, right?
First, washi tape. It's a pretty common craft supply, these days, readily available in countless colors and patterns. If you're not familiar with it, essentially it's a semi-translucent, slightly waxy tape that is easily repositioned without leaving behind a sticky residue.
There are probably quite a few quilting-related uses for washi tape. For instance, you can put it on the bed of your sewing machine to serve as a seam allowance guide.
My favorite quilty use for washi tape, however, is on rulers. It's frequent in quilt-making that we need to find a specific ruler marking over and over again-- as when you're trimming down string blocks or cutting strips from larger pieces of fabric. It takes a certain amount of time to locate the correct mark on the ruler each time, and if you're anything like me, it's also easy to make a mistake if your mind wanders. (So frustrating when that happens!)
There are products on the market specifically designed to address this problem-- little stickers that go on the top of your ruler to direct your eyes immediately to the right spot. However, there's another, cheaper solution: tape!
You could probably use paper tape or painter's tape in the same way, but I like washi tape. It's easy to reposition, doesn't leave residue, and is pretty.
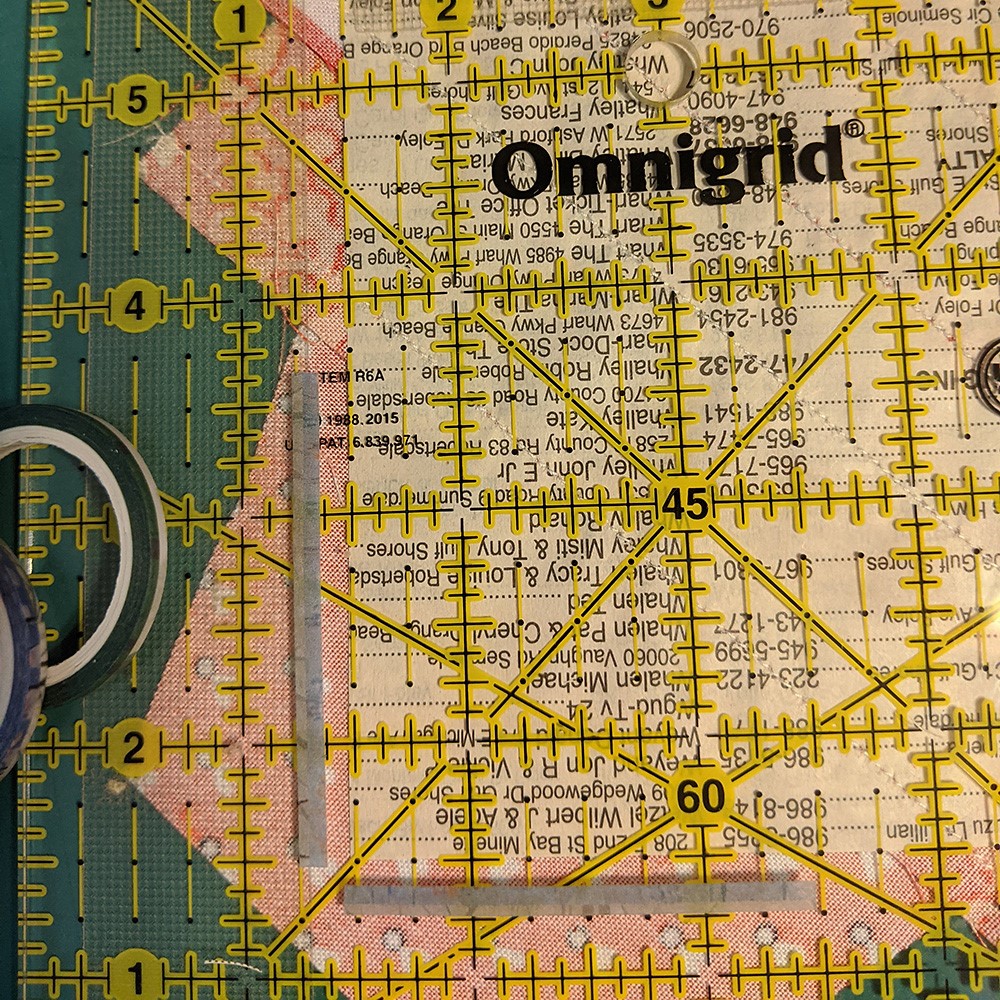
The washi tape I bought came with very thin "mini rolls" between the real rolls (to keep the designs separated/"clean" in the event that the rolls weren't cut perfectly on the line where one design ended and the next began). These thin rolls of tape are perfect for marking rulers, because they leave most of the ruler's markings visible while still drawing my eye to the right spot for trimming down the string squares. However, the wider tape would be even easier to see, if your eyes aren't what they once were, and washi tape can be found in any color, including bright, easy-to-find neon.
It doesn't take much, so a single roll could easily last you years.
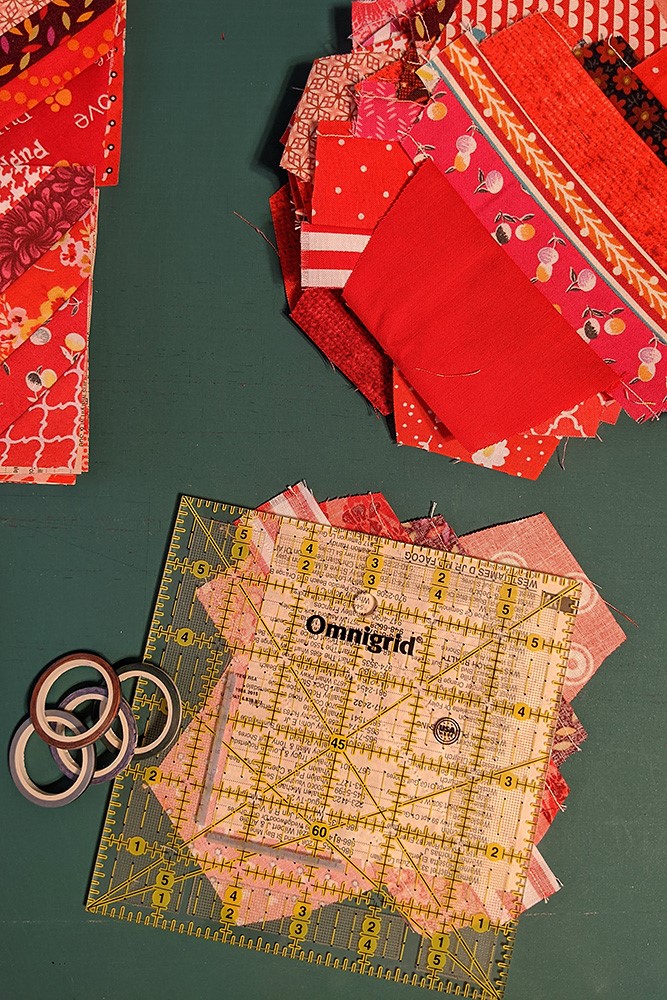
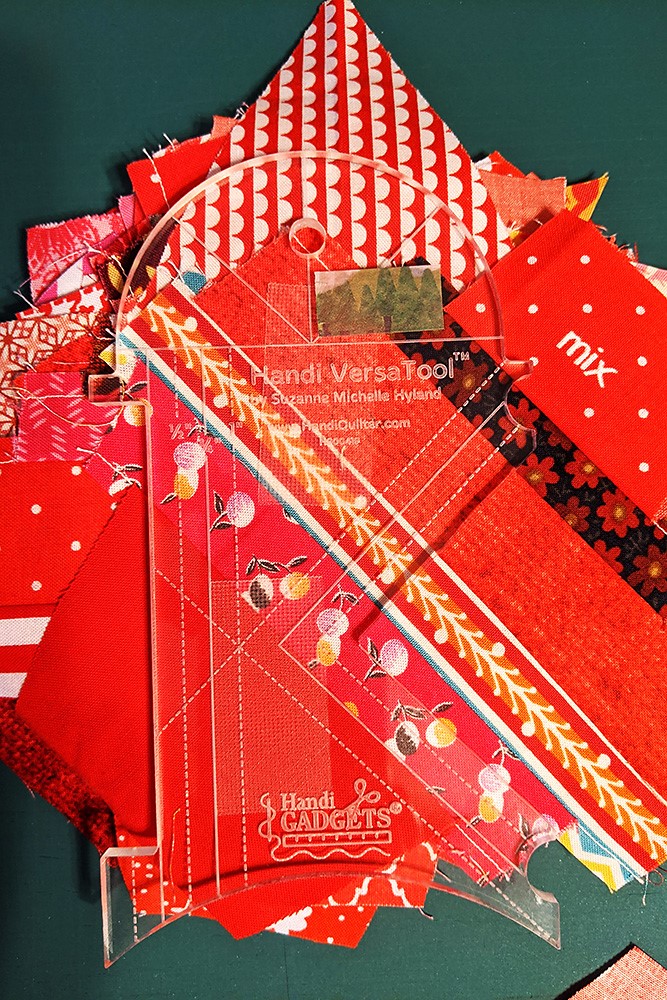
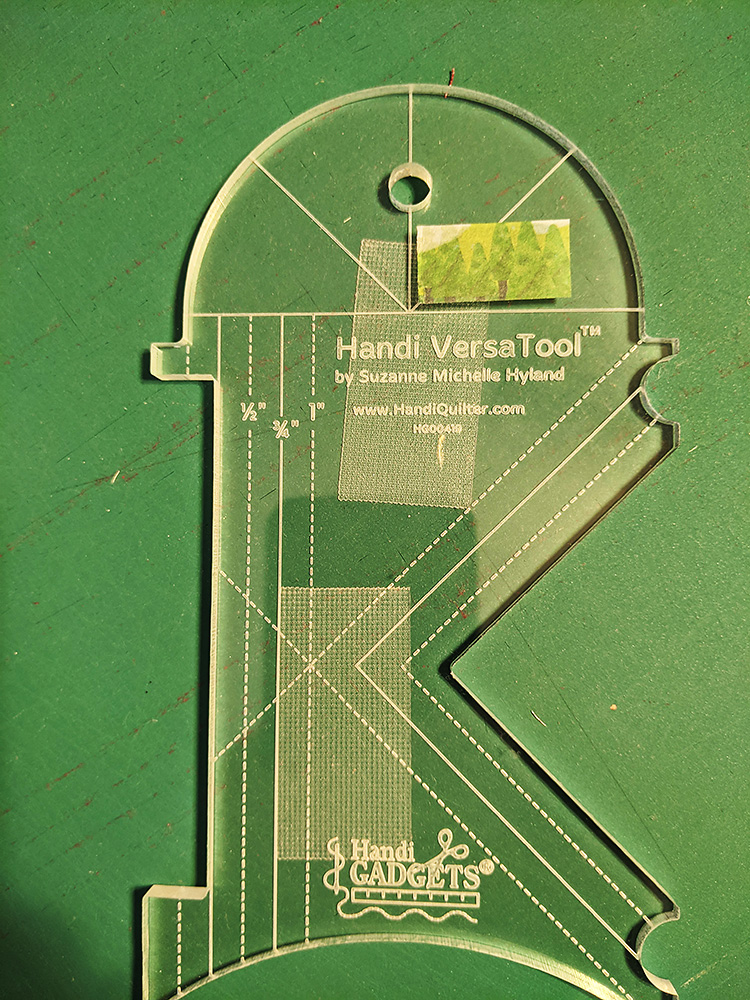
I also use little snippets of washi tape on quilting rulers to help them stand out a bit better against the quilt top, so they don't get "lost". (I may need to go back and add another piece or two to make them even more visible-- maybe in a few different colors, so the ruler will stand out no matter what color fabric it's lying on.)
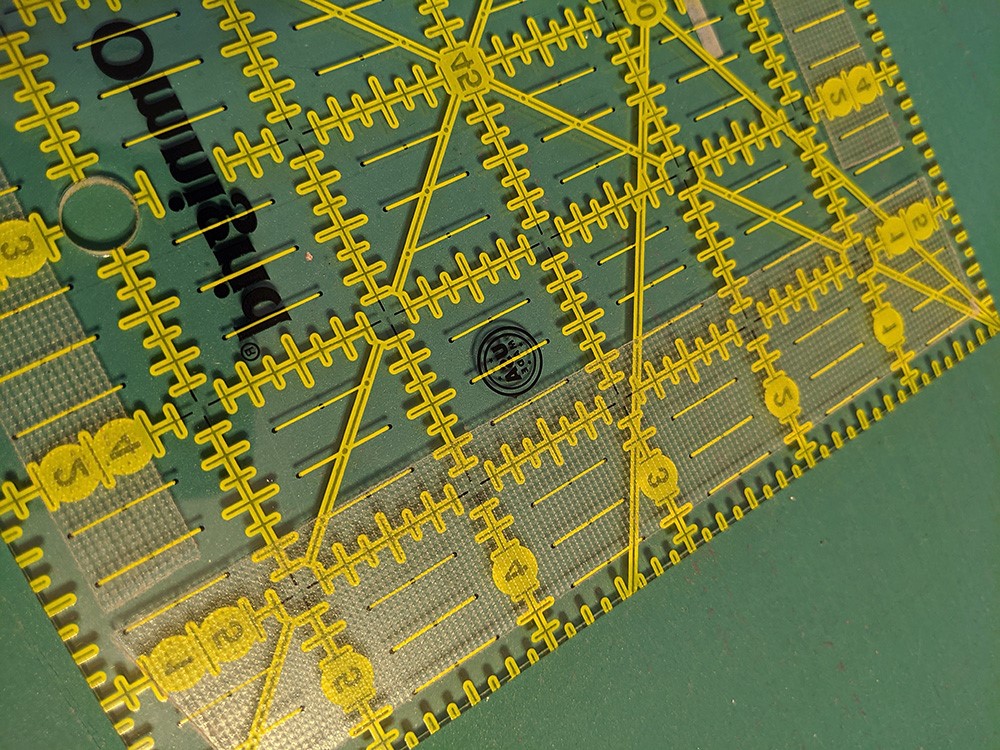
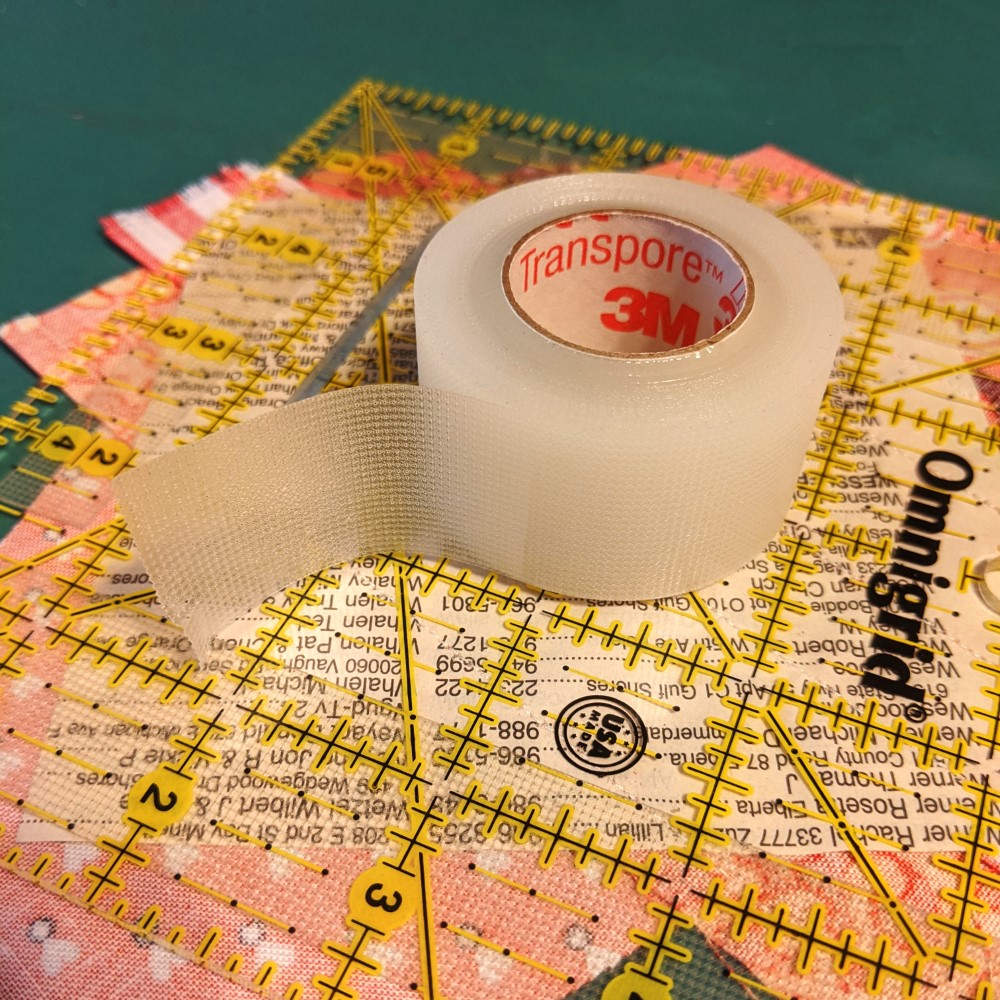
As you may have noticed in the photos above, washi tape isn't the only thing I've applied to my rulers. I also use a type of surgical tape-- Transpore by 3M. It's a perforated (very easy to tear) tape that you can apply to the underside of your cutting and quilting rulers. It provides just a little extra "grabbiness" to the rulers, which can otherwise slip and slide at the most inopportune moments. Since adding strips of the tape, I've noticed a marked improvement in my ability to hold rulers still.
Oh, and because the tape is translucent, you can still see what's under it very clearly-- helpful when you're positioning a ruler just so. (The Omnigrid ruler in the photos above has strips of Transpore tape on the back, for an example of how well you can see through it.)
This tape is pretty sticky, so it probably will leave a residue when you pull it off, but rulers can be cleaned-- and the only reason I'd ever remove it would be to replace it with fresh tape, if it starts to get slicker over time. (Lint sticks to it, so it may eventually lose enough of its tack and texture that it needs replacing.)
One thing worth mentioning is that when I've stacked my rulers on top of one another (with the tape on the back of one ruler pressing directly on the top of the ruler below it), I have noticed some stickiness transferring from one ruler to the next. It probably takes a while to happen (more than just a few minutes, certainly), and it's not the end of the world, but I'd rather that not happen, so I try to avoid stacking my rulers in this way, now.
One thing worth mentioning is that when I've stacked my rulers on top of one another (with the tape on the back of one ruler pressing directly on the top of the ruler below it), I have noticed some stickiness transferring from one ruler to the next. It probably takes a while to happen (more than just a few minutes, certainly), and it's not the end of the world, but I'd rather that not happen, so I try to avoid stacking my rulers in this way, now.
It doesn't take a lot of tape to make a difference, and I've found that the tape lasts a long time before it needs replacing, so a single roll of tape may be all you'll ever need to buy.
I hope that my "Tale of Two Tapes" ;o) might find its way to someone who could use one or both of these tips. These products have definitely made quilting easier for me!
Note: Apologies if you tried to view this post earlier and found the photos not working. I was trying the new Blogger interface that they're "upgrading" to at the end of June, and something apparently isn't working... I'm not sure what the problem was, because the photos showed up when I checked the blog right after publishing, but somehow disappeared later in the day. For now, I've reverted to the old interface, and I'll just have to hope it keeps working, I guess. (Unless the photo thing is a bug they work out. Don't you hate it when "upgrades" turn out to cause more problems than they fix?)