Not exactly "tomorrow", but...
The pillow slip-covers are done and on the couch! I'm still not the very best at cutting perfect squares of fabric, but I think the string quilt kit is within the realm of possibility, now. Of course, that doesn't mean I'll start working on it right away... So many other projects already underway!
But let's bask in the rare sunshine of the finished project. ;o)
Here are a few photos of the pillow covers:
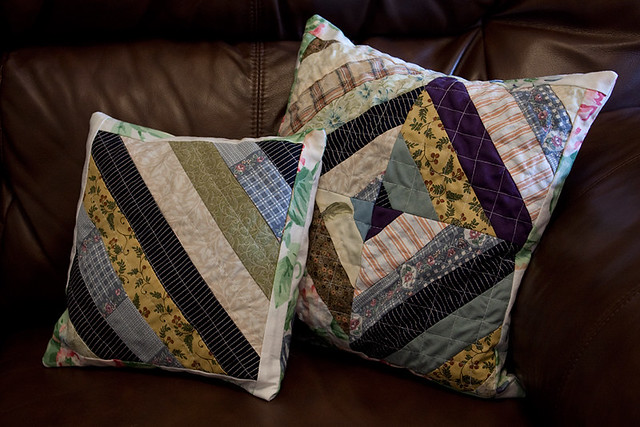
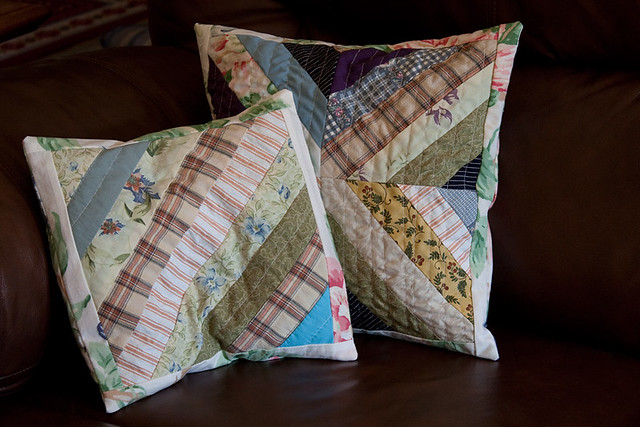
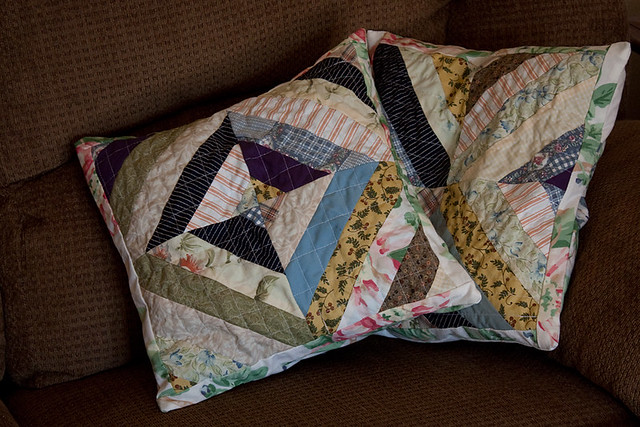
As you can see, they're pretty random and rustic-- shabby chic with a touch of darkness?-- but I'm satisfied.
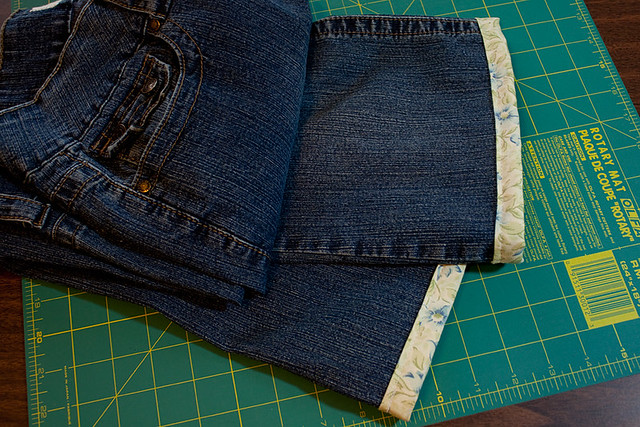
While I was in "sewing mode", I went ahead and hemmed a pair of jeans into capris. I made a couple of pair of capris the same way a couple of years (or so) ago, and I've worn those things constantly all summer. Mine are completely casual, but it's something different from the standard "hack and hem" ;o) or "roll-up" look. And if you wanted to, you could dress up the look with lace, ruffles, ric-rac trim, ribbon, big buttons-- whatever you like.
I can't seem to find the tutorial I used, back then, but the concept is simple.
First, decide how long you want the capris to be. Mark the jeans and cut the legs off at the desired length. (If you want, you can serge/zig-zag stitch the edge or cut with pinking shears to reduce fraying, but I haven't, and there've been no problems so far, even with very frequent wearing and washing.)
Measure around the leg opening. (Instead of getting fussy about it, I just measure flat across the leg opening and double the number.)
For the "accent trim", choose a fabric you like and cut two rectangles. The rectangles' length should be the circumference of the leg opening plus another inch or so (to fold over so there are no raw edges showing). The width of the rectangles depends on the look you want. The wider the rectangle, the more you'll see of the accent fabric. Two inches will yield a half-inch trim of fabric. For a full inch of trim fabric, cut to a 4-inch width.
Fold each rectangle in half, lengthwise, and iron it into a skinnier strip. Unfold the strip, then fold each half to the crease you just created. Iron those folds into place. (Doing one at a time is easiest.) The rectangle should now have three creases. Fold along each crease.
Now comes the trickiest part. Fit the "envelope" of fabric over the cut edges of the jeans legs. Pin into place, if it helps. (I think it does!) When you get all the way around the leg, you may wish to cut the end of the rectangle down a bit, if you have too much excess fabric. You want just enough (a quarter to a half inch?) to "fold inside" so that there are no raw edges of fabric showing.
Sew the fabric trim into place-- and you're done!
If you want some step-by-step photos, here's a tutorial for the same basic method applied to shorts: Fabric Short Cuffs.
These "Knot No Hem Capri Pants" look cute, too, if I could just be sure the flaps of those bows wouldn't get in my way-- not to mention the bulk of the "knot".
I guess I haven't been spending that much time crafting, lately, aside from the pillow slip-covers.
Warning: Meandering Ahead!
Instead, we've been trying to get ready for house-guests and slowly transforming the "puppy room" back into a "people room"-- but instead of merely moving everything back in, we're turning it from a twice-used formal dining room into a secondary sitting room/parlor area. There's still a lot to do. Oh, and we've been dealing with plumbing issues. Ugh. Plumbing. We're probably going to have the whole system redone, soon. *sigh* But hey, at least we live in a time and place where indoor plumbing is the norm-- and we aren't so strapped for cash that we can't afford to have it fixed without skipping meals. (Still not a fun expense, though.)
Ok, enough "real life". Back to the crafty escapism! ;o)
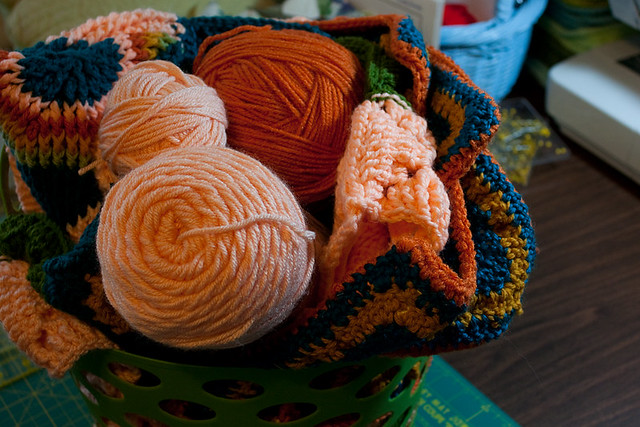
What I have done is put all the pieces of the Mysteryghan together. (Maybe I've already mentioned that... It's been a while since that was done...) All that's left is to weave in a few loose ends (from joining) and the border. The border looks interestingly textured, but possibly a little time-consuming. Maybe I'll start it over the weekend. Depends on what else is going on around here.
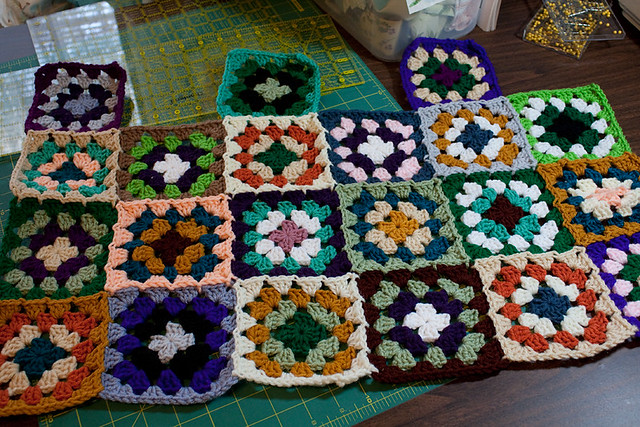
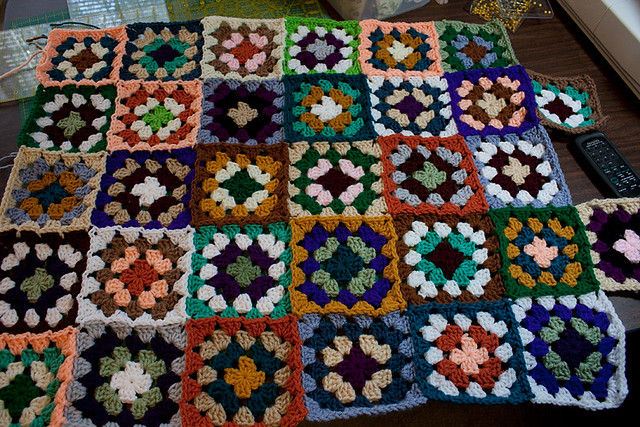
Then there's the granny square afghan. I've begun joining together some of the squares (join-as-you-go method). It's fun to see the pieces add up to something substantial. :o)
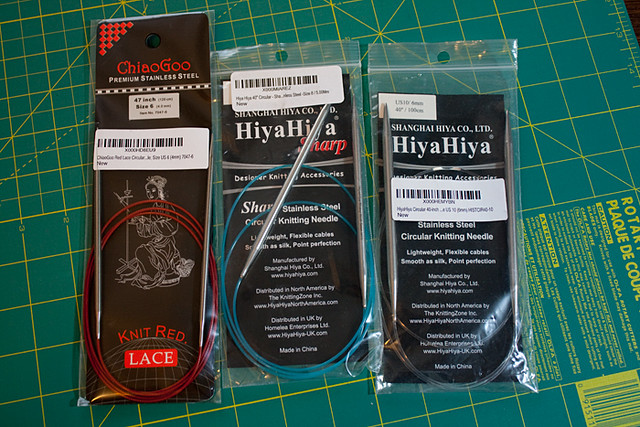
And finally, here are the new knitting needles:
I'd like to try them out, but I'm making myself wait until I've finished one of my current knitting WIPs. (That'll be the Frosting cowl, because the Billowy Delight scarf is nowhere near finished.) It's never too early to start plotting the next project, though... ;o)
Ok, back to house-cleaning and praying for the first really cool cold front of autumn to push far enough south that we can get a taste of it!
The pillow slip-covers are done and on the couch! I'm still not the very best at cutting perfect squares of fabric, but I think the string quilt kit is within the realm of possibility, now. Of course, that doesn't mean I'll start working on it right away... So many other projects already underway!
But let's bask in the rare sunshine of the finished project. ;o)
Here are a few photos of the pillow covers:
As you can see, they're pretty random and rustic-- shabby chic with a touch of darkness?-- but I'm satisfied.
- - - - - - -
While I was in "sewing mode", I went ahead and hemmed a pair of jeans into capris. I made a couple of pair of capris the same way a couple of years (or so) ago, and I've worn those things constantly all summer. Mine are completely casual, but it's something different from the standard "hack and hem" ;o) or "roll-up" look. And if you wanted to, you could dress up the look with lace, ruffles, ric-rac trim, ribbon, big buttons-- whatever you like.
I can't seem to find the tutorial I used, back then, but the concept is simple.
First, decide how long you want the capris to be. Mark the jeans and cut the legs off at the desired length. (If you want, you can serge/zig-zag stitch the edge or cut with pinking shears to reduce fraying, but I haven't, and there've been no problems so far, even with very frequent wearing and washing.)
Measure around the leg opening. (Instead of getting fussy about it, I just measure flat across the leg opening and double the number.)
For the "accent trim", choose a fabric you like and cut two rectangles. The rectangles' length should be the circumference of the leg opening plus another inch or so (to fold over so there are no raw edges showing). The width of the rectangles depends on the look you want. The wider the rectangle, the more you'll see of the accent fabric. Two inches will yield a half-inch trim of fabric. For a full inch of trim fabric, cut to a 4-inch width.
Fold each rectangle in half, lengthwise, and iron it into a skinnier strip. Unfold the strip, then fold each half to the crease you just created. Iron those folds into place. (Doing one at a time is easiest.) The rectangle should now have three creases. Fold along each crease.
Now comes the trickiest part. Fit the "envelope" of fabric over the cut edges of the jeans legs. Pin into place, if it helps. (I think it does!) When you get all the way around the leg, you may wish to cut the end of the rectangle down a bit, if you have too much excess fabric. You want just enough (a quarter to a half inch?) to "fold inside" so that there are no raw edges of fabric showing.
Sew the fabric trim into place-- and you're done!
If you want some step-by-step photos, here's a tutorial for the same basic method applied to shorts: Fabric Short Cuffs.
These "Knot No Hem Capri Pants" look cute, too, if I could just be sure the flaps of those bows wouldn't get in my way-- not to mention the bulk of the "knot".
- - - - - - -
I guess I haven't been spending that much time crafting, lately, aside from the pillow slip-covers.
Warning: Meandering Ahead!
Instead, we've been trying to get ready for house-guests and slowly transforming the "puppy room" back into a "people room"-- but instead of merely moving everything back in, we're turning it from a twice-used formal dining room into a secondary sitting room/parlor area. There's still a lot to do. Oh, and we've been dealing with plumbing issues. Ugh. Plumbing. We're probably going to have the whole system redone, soon. *sigh* But hey, at least we live in a time and place where indoor plumbing is the norm-- and we aren't so strapped for cash that we can't afford to have it fixed without skipping meals. (Still not a fun expense, though.)
Ok, enough "real life". Back to the crafty escapism! ;o)
What I have done is put all the pieces of the Mysteryghan together. (Maybe I've already mentioned that... It's been a while since that was done...) All that's left is to weave in a few loose ends (from joining) and the border. The border looks interestingly textured, but possibly a little time-consuming. Maybe I'll start it over the weekend. Depends on what else is going on around here.
Then there's the granny square afghan. I've begun joining together some of the squares (join-as-you-go method). It's fun to see the pieces add up to something substantial. :o)
And finally, here are the new knitting needles:
I'd like to try them out, but I'm making myself wait until I've finished one of my current knitting WIPs. (That'll be the Frosting cowl, because the Billowy Delight scarf is nowhere near finished.) It's never too early to start plotting the next project, though... ;o)
Ok, back to house-cleaning and praying for the first really cool cold front of autumn to push far enough south that we can get a taste of it!