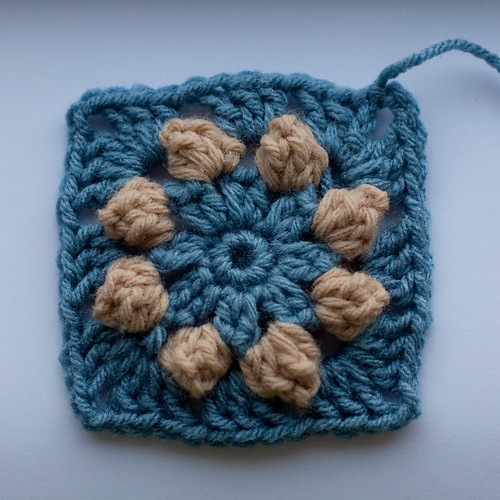
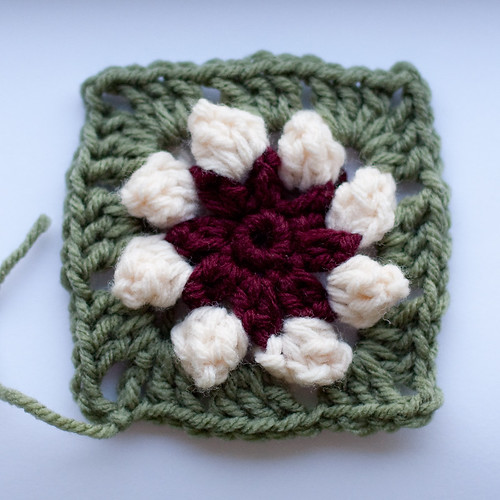
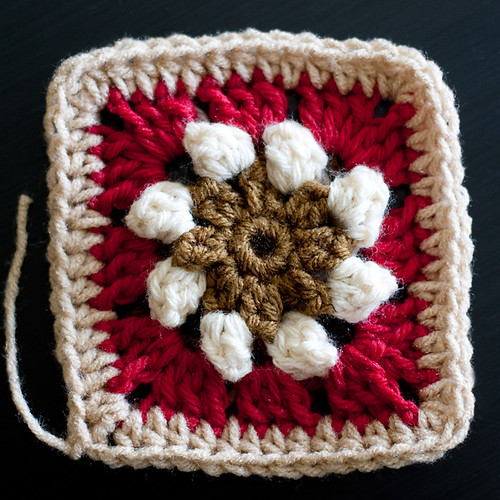
Here's the Prairie Star Motif, so named because that's the first thing that came to mind when I looked at the finished product.
It's a very simple motif-- and a small one, too, as written. My first sample worked out to just shy of 3.5 inches square. (If you wanted it bigger, you could easily add another round or two of the granny square clusters of double crochet.)
The center is a bit puffy-- puffed up higher than the final round. I think it adds to the texture and "dimensionality" of the motif, but if you want something very flat, this isn't it. (Also, the edges in my samples aren't perfectly straight, but I think that with blocking, edging, or joining a few together, they'll even out much more nicely.)
I used an H / 5.0 mm hook and worsted weight yarn, but there's always room for adaptation.
You can of course work the pattern all in one color or change colors as many times as you like. I've worked just the two samples you see above. In the first, I used the same color for rounds 1, 2, and 4, with a contrasting color for round 3. In the second, rounds 1 and 2 are the same color, with different colors for both rounds 3 and 4.
Written Instructions (US terminology):
Special Stitches:
Starting Popcorn:
ch 3, 3 dc in same space, remove hook from loop, insert hook into third chain of ch-3, insert hook back into dropped loop, pull dropped loop through third chain of ch-3.
Popcorn:
4 dc in same space, remove hook from loop, insert hook into first dc of group, insert hook back into dropped loop, pull dropped loop through first dc.
Use whatever "loop method" you prefer. (I've seen two different ways to start make a chainless start, but they seem to go by several different names-- magic circle, sliding ring, adjustable loop, double ring, etc. You'll find plenty of tutorials and videos online.) Or if you'd rather, chain 4 or 5 and join with a slip stitch (or use whatever other starting method you like best).
Rnd 1: ch 1, 8 sc into loop, join with sl st to first sc.
Rnd 2: ch 2, hdc in same st, ch 2, * 2 hdc in next st, ch 2 *, repeat from * to * around, join with sl st in second chain in starting ch-2.
Rnd 3: make starting popcorn in one ch-2 space, ch 2 *, make popcorn in next ch-2 space, ch 2 *, repeat from * to * around, join with sl st to top of starting popcorn.
Rnd 4: ch 3 in 2-ch space, 2 dc in same space, * (ch 1, 3 dc in next ch-2 space) twice, ch 2, 3 dc in same space as last 3 dc *, repeat from * to * around, join with sl st in third chain of staring ch-3.
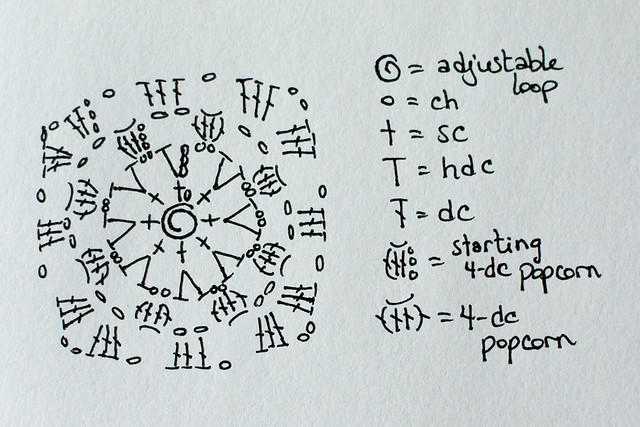
I tried to chart the pattern, too. It's not perfect, but I think it gets the point across...
And that's it!
Not that anyone will (g), but if you feel so inclined, please feel free to print/save this pattern. Use it anyway you like-- for yourself, for a gift, even for items to sell. I do ask that people not try to sell the pattern itself-- and of course I'd appreciate a link back, where applicable. :o)
Edited to add:
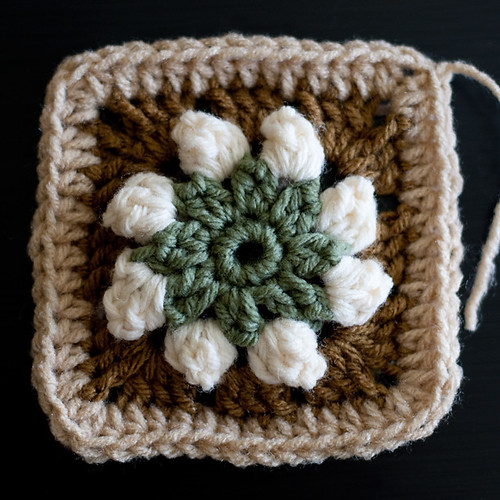
When I made a bunch of these motifs to stitch together into a pillow, I decided I wanted them to be slightly bigger, so I added another round. Now I think I may actually like the motif better that way.
Rnd 5: ch 2 in a corner ch-2 space, hdc in same space, * hdc in every dc and ch-1 space until you reach the next corner, 3 hdc in corner ch-2 space *, repeat from * to * until you've returned to the initial corner ch-2 space, hdc in same space as initial ch-2, join with sl st into initial ch-2.
--Or in more conversational terms, put one hdc in each dc, one hdc in each ch-1 space, and 3 hdc in the corners (the 2-ch spaces). Where you begin and end the round is entirely up to you; it works just as well to start in the middle of one side as it does to start in the corners.
You could do the same thing with dc if you want to add even more size to the motif. Also, if you decide to add more "granny rounds" after Rnd 4, you can still follow the same basic pattern to add a solid round of hdc or dc.
Here are a couple of photos of motifs with Rnd 5:
