(Squeezing in as many mysterious abbreviations as possible in that title field... ;o))
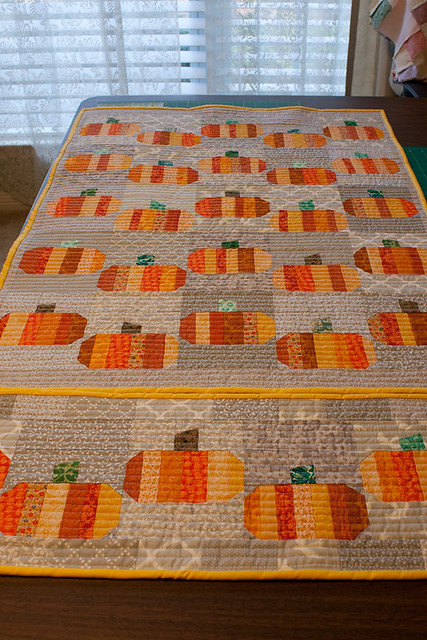
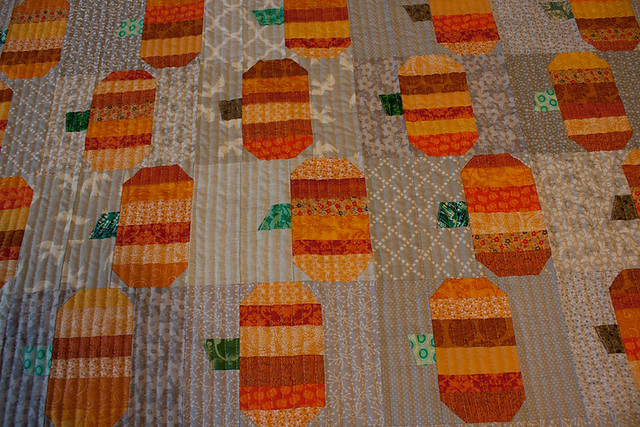
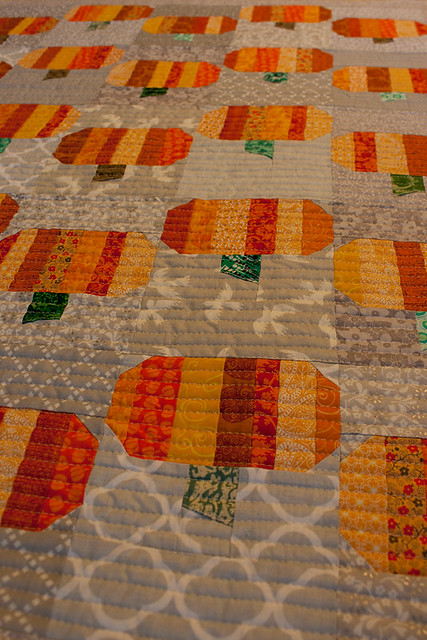
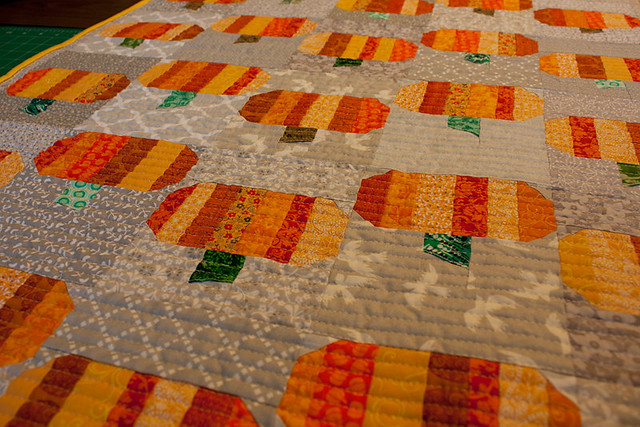
First, I have way too many photos of the latest finished objects-- the "window quilts". Here they are after quilting, but before washing.
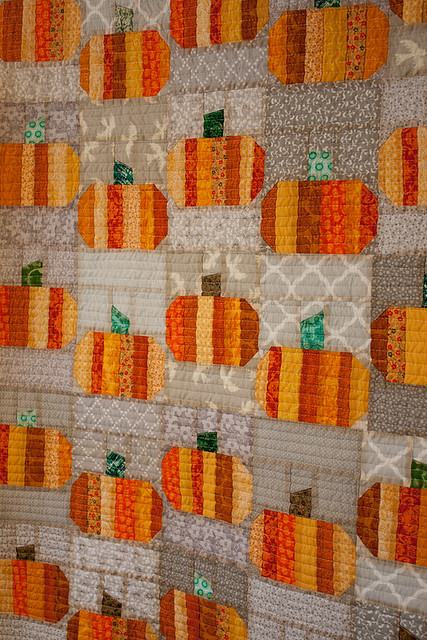
I straight-line quilted them on my sewing machine. This is the most densely I've ever quilted anything bigger than a pot-holder, I think. It was sometimes a struggle to maneuver through the limited harp/throat space, even with such a relatively small piece.
The backing is just the same cream sheet I used for the carpenter's star "window quilt" I made before, and the binding is a solid golden yellow.
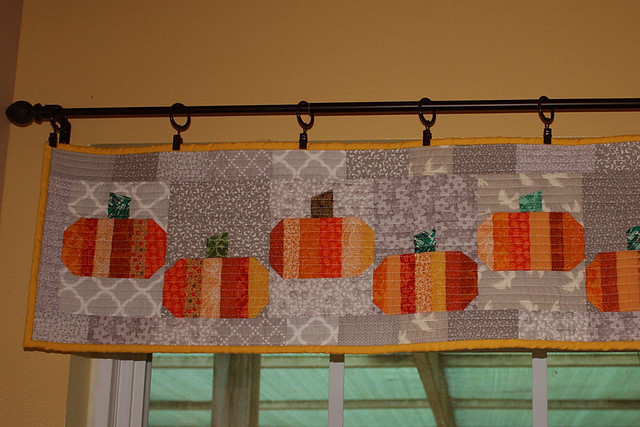
Here they are after washing and drying.
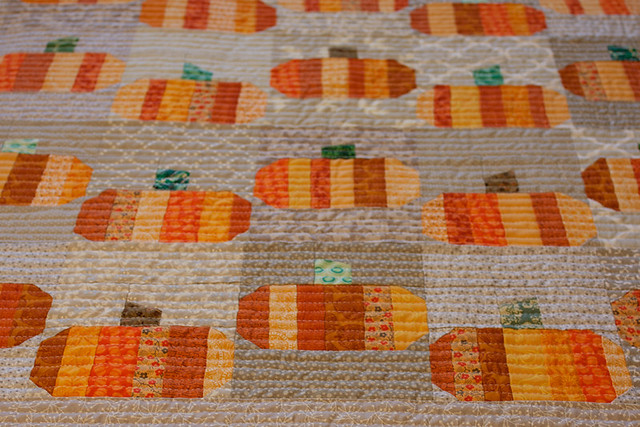
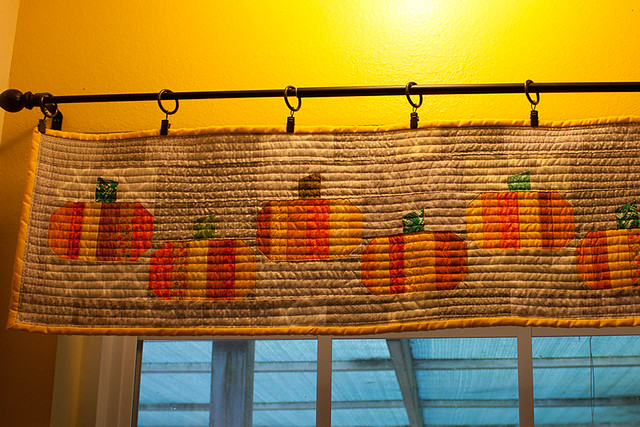
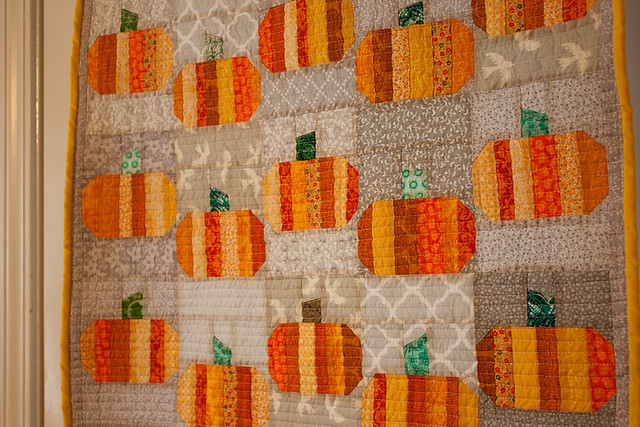
First, the valance/runner. (I don't think I got the whole thing in any single photo, but this is the gist of it...)
The first photo was taken with a flash; this is how the valance generally looks when the light inside is brighter than the light coming from the window. The second has harsher lighting from above, which emphasizes the quilted texture. What I didn't do was get photos of the light shining through the quilt, from the window. (To be honest, I'm not sure I love the way these look with the light shining through them. So many pieces means lots of seams. I'll give it some time-- the rest of the month, at least-- but in future, these may be used as a small wall-hanging and table runner, instead of as window coverings.)
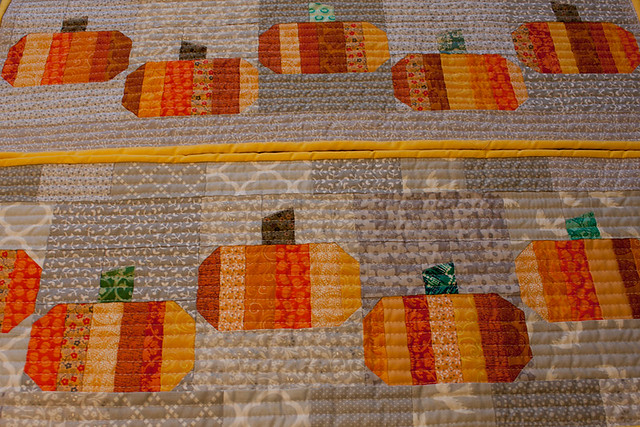
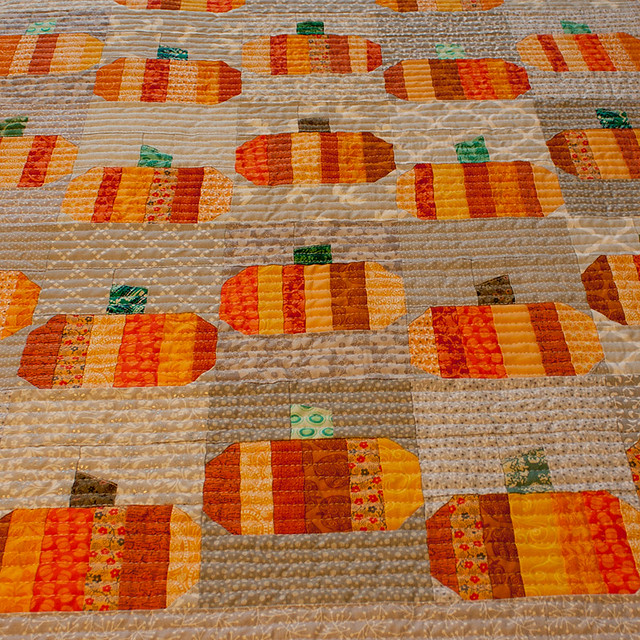
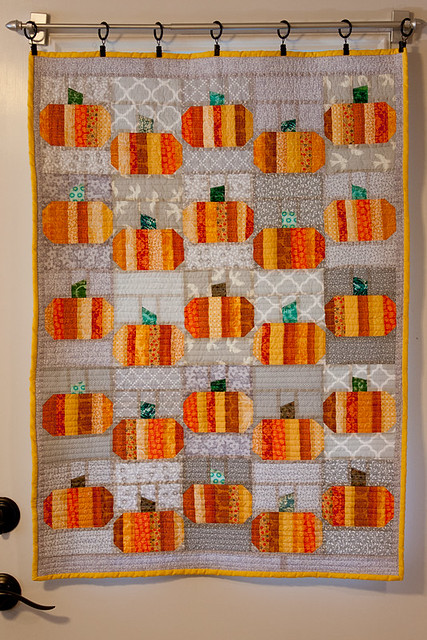
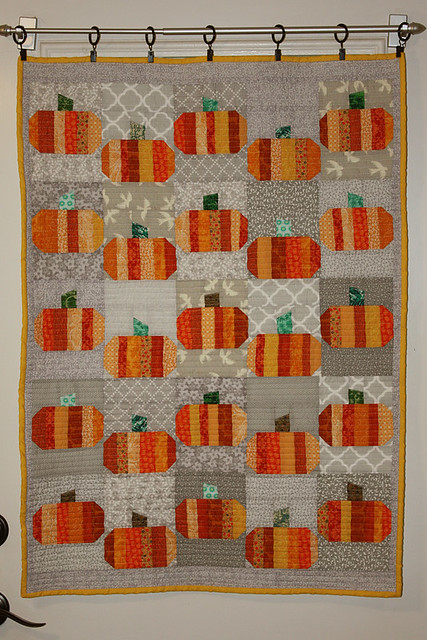
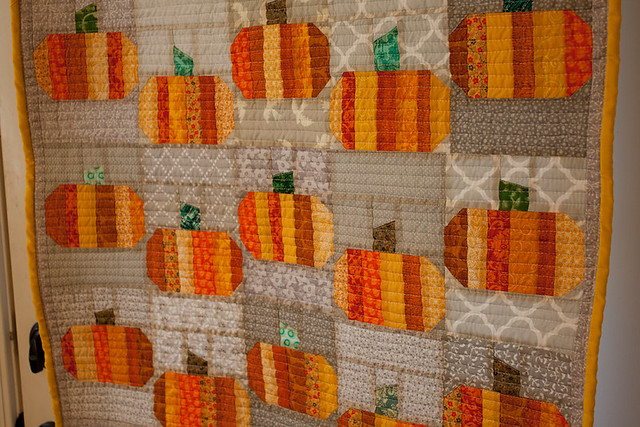
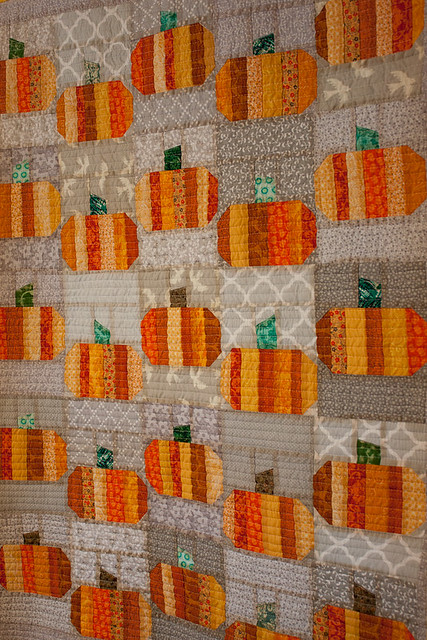
Next up, the larger of the two, on the kitchen door. You get a hint of the light shining through in most of these (all but the second one, which was taken with the flash), but it's not as extreme as it was earlier in the day.
I do like the "dancing pumpkins", and they were fun to make!
New topic!
I've been wanting to try the free motion quilting (FMQ) function on my sewing machine. Over the weekend I finally did!
I made up a couple of small quilt sandwiches for the purpose. They're just plain scrap sheet fabric on front and back, with scrap polyester batting. I lowered the feed dogs, put on the quilting foot (a.k.a. darning foot), adjusted the upper tension (from a 4 to a 7, which seems to be about right on my machine), and gave it a whirl. (All this was after first watching some videos on YouTube.)
...It probably shouldn't come as a surprise that the people (even the hobbyists) who put up FMQ videos are usually somewhat experienced and therefore make it look a lot easier than it will seem to beginners.
I've read enough to know that there are as many tips and tricks and ideal set-ups as there are quilters. Everyone is different-- and every sewing machine make/model is different, too. Just about the only tip that seems to be universal is that practice is necessary to improve and gain the necessary muscle memory to FMQ smoothly.
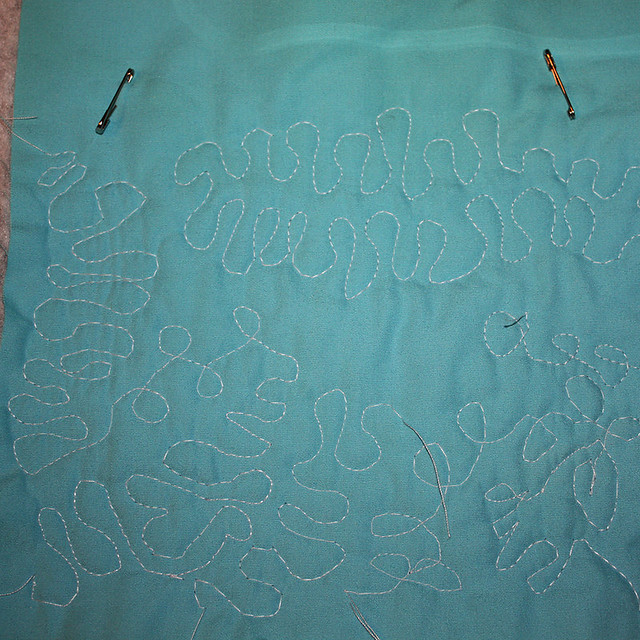
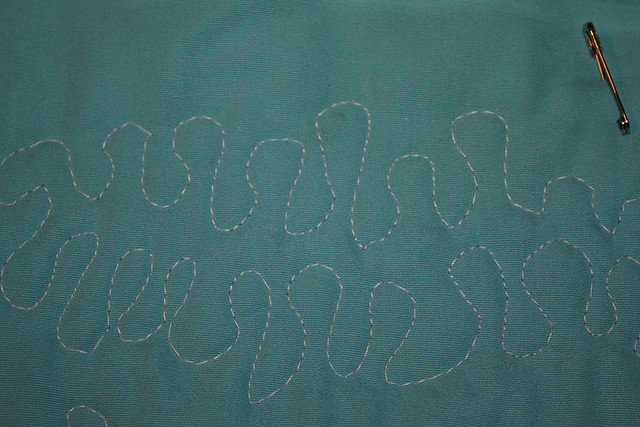
In the photo below, you can clearly see a difference between my first try and my last.
My curves still lack smoothness, and sometimes I feel like the fabric is moving in a "jerky" way, which leads to elongated stitches in some spots and short, dense stitching in others. Still, it's an improvement over my first few lines of stitches.
I've read almost too many tips and tricks-- which can be overwhelming and confusing-- but some are easier (and cheaper) to implement than others, so I'll start with those. (I've already decided that taping wax paper to the sewing machine was not particularly helpful for me, for instance.) I think the key is going to be practicing. A little every day would be ideal.
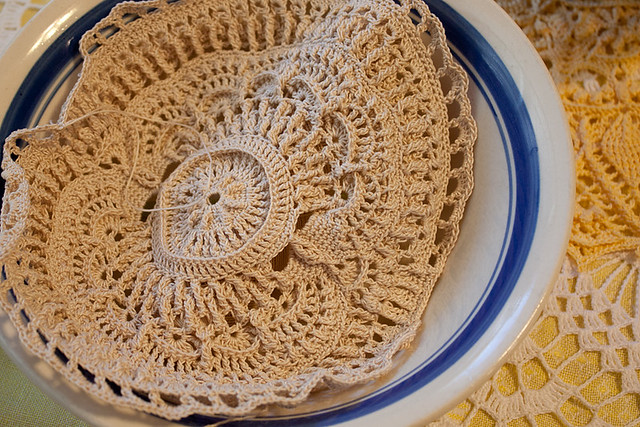
Progress is slow on "Marion"-- simply because I haven't been crocheting as often or long as I sometimes do-- but when I'm working on it, I'm enjoying it. The texture is amazing and the design elegant. While it does require some attention and concentration (in spots), so far it hasn't been as complicated or difficult to crochet as it may appear. (Of course, up-coming rounds may make me eat those words!)
I think it's going to be a beauty. Definitely a pattern I can imagine making multiple times, because it holds your interest but is still enjoyable to crochet, with a lovely final product.
(Oh, and the Baroque thread continues to be nice, too. No more knots since that first one. It's a quality thread, but I still would prefer Cébélia for future purchases-- unless I came across an unbelievable sale on Baroque.)
First, I have way too many photos of the latest finished objects-- the "window quilts". Here they are after quilting, but before washing.
I straight-line quilted them on my sewing machine. This is the most densely I've ever quilted anything bigger than a pot-holder, I think. It was sometimes a struggle to maneuver through the limited harp/throat space, even with such a relatively small piece.
The backing is just the same cream sheet I used for the carpenter's star "window quilt" I made before, and the binding is a solid golden yellow.
Here they are after washing and drying.
First, the valance/runner. (I don't think I got the whole thing in any single photo, but this is the gist of it...)
The first photo was taken with a flash; this is how the valance generally looks when the light inside is brighter than the light coming from the window. The second has harsher lighting from above, which emphasizes the quilted texture. What I didn't do was get photos of the light shining through the quilt, from the window. (To be honest, I'm not sure I love the way these look with the light shining through them. So many pieces means lots of seams. I'll give it some time-- the rest of the month, at least-- but in future, these may be used as a small wall-hanging and table runner, instead of as window coverings.)
Next up, the larger of the two, on the kitchen door. You get a hint of the light shining through in most of these (all but the second one, which was taken with the flash), but it's not as extreme as it was earlier in the day.
I do like the "dancing pumpkins", and they were fun to make!
- - - - - - -
New topic!
I've been wanting to try the free motion quilting (FMQ) function on my sewing machine. Over the weekend I finally did!
I made up a couple of small quilt sandwiches for the purpose. They're just plain scrap sheet fabric on front and back, with scrap polyester batting. I lowered the feed dogs, put on the quilting foot (a.k.a. darning foot), adjusted the upper tension (from a 4 to a 7, which seems to be about right on my machine), and gave it a whirl. (All this was after first watching some videos on YouTube.)
...It probably shouldn't come as a surprise that the people (even the hobbyists) who put up FMQ videos are usually somewhat experienced and therefore make it look a lot easier than it will seem to beginners.
I've read enough to know that there are as many tips and tricks and ideal set-ups as there are quilters. Everyone is different-- and every sewing machine make/model is different, too. Just about the only tip that seems to be universal is that practice is necessary to improve and gain the necessary muscle memory to FMQ smoothly.
In the photo below, you can clearly see a difference between my first try and my last.
My curves still lack smoothness, and sometimes I feel like the fabric is moving in a "jerky" way, which leads to elongated stitches in some spots and short, dense stitching in others. Still, it's an improvement over my first few lines of stitches.
I've read almost too many tips and tricks-- which can be overwhelming and confusing-- but some are easier (and cheaper) to implement than others, so I'll start with those. (I've already decided that taping wax paper to the sewing machine was not particularly helpful for me, for instance.) I think the key is going to be practicing. A little every day would be ideal.
- - - - - - -
I think it's going to be a beauty. Definitely a pattern I can imagine making multiple times, because it holds your interest but is still enjoyable to crochet, with a lovely final product.
(Oh, and the Baroque thread continues to be nice, too. No more knots since that first one. It's a quality thread, but I still would prefer Cébélia for future purchases-- unless I came across an unbelievable sale on Baroque.)
